

In today’s digital classrooms, visual learning materials especially instructional videos have become powerful tools for engaging students, simplifying complex ideas, and supporting diverse learning needs. Videos allow learners to revisit concepts at their own pace, bring abstract topics to life, and foster active participation. Whether you teach in a Ugandan secondary school, primary classroom, or higher institution, creating your own videos is now accessible with free or low-cost tools available on mobile phones and computers.
This practical guide equips you with the knowledge, skills, and resources to record, edit, enhance, share, and integrate high-quality video content. Follow the step-by-step sections, complete the activities, and start transforming your teaching today.
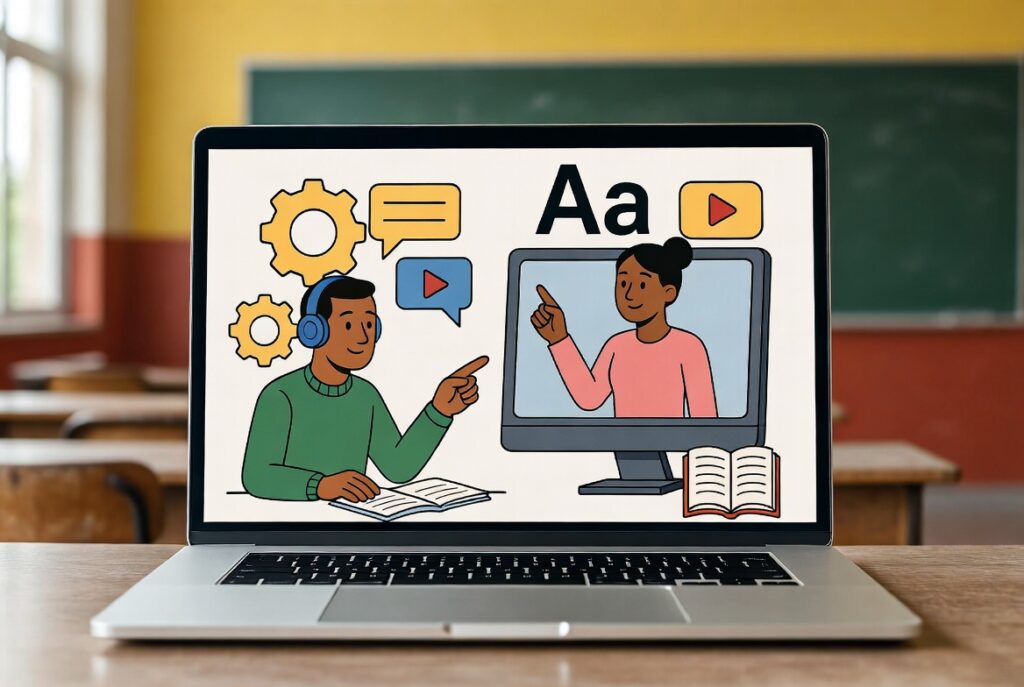
Benefits of Video-Based Learning

Video-based learning offers clear advantages that directly improve student outcomes:
- Flexibility – Students can watch videos at their own pace and convenience, which allows them to learn at their own speed.
- Access to Expert Teachers – Video-based learning allows students to access lectures from expert teachers who may not be available in their local area.
- Interactive Learning – Videos can be used to make learning more interactive and engaging for students.
- Simplification of Complex Concepts – Videos can be used to simplify complex concepts and make learning more accessible for CBSE students.
- Personalized Learning – Video-based learning allows for personalized learning, where students can learn at their own pace and focus on areas where they need more help.
These benefits make videos especially valuable in competence-based curricula, where practical understanding matters more than rote memorization.
Minds-on Discussion: What do you think are the key benefits of using videos in education, and how might they transform your teaching methods?
Recording Instructional Videos Using Mobile Devices
Mobile devices are portable and easy to use for recording.
Key tips for quality recordings:
- Hold your camera horizontally to shoot in 16:9 high definition.
- Ensure good lighting, clear audio, and a steady hand.
- If possible, use external microphones or tripods for better quality.
- Use built-in camera apps or apps like Filmic Pro for advanced features.

Activity 1: Record a 1-minute video explaining a topic using your phone.
Recording and Editing Videos on PCs with Basic Tools
PCs offer larger screens and advanced tools for recording and editing.
Recommended free tools for screen recording:
- ScreenRec
- OBS Studio
- Zoom
- FlashBack Express
- Windows Game Bar (Win + G)
- PowerPoint Screen Recorder

Activity 2: Record a short instructional video on your PC using ScreenRec, showing your screen and webcam.
Basic Video Editing Features and Tools
It is usually necessary to combine, trim clips, add text, transitions, and adjust brightness. Tools like CapCut offer user-friendly interfaces for beginners.
Recommended free tools for video editing:
- CapCut (Desktop/Web/Mobile)
- Clipchamp (cloud-based with free desktop version)
- OpenShot
- Shotcut
- DaVinci Resolve

Activity 3: Use CapCut Desktop or Mobile to combine the earlier camera video and screen recording into one video. Add an appropriate text title.
Video Editing Techniques: Trimming and Converting
Why Convert Video Formats?
- Compatibility
- File Size
- Quality Adjustments
- Editing Requirements
Key tools for conversion:
- VLC Media Player
- HandBrake (open-source with advanced compression)
- Any Video Converter

Activity 4: Use HandBrake to convert your video from Activity 3 to be less than 25MB in size.
Adding Text, Sound, and Effects to Enhance Videos
Add subtitles/captions for clarity and accessibility. Use background music and sound effects to maintain interest.
Sources for free music:
- YouTube Audio Library
- Pixabay Music
- Free Music Archive
- Bensound

Activity 5: Add music and auto captions to a video using CapCut.
Uploading and Sharing Educational Videos via YouTube
YouTube serves as a cost-effective platform for educators and schools to create an online presence, improve access to learning materials, and increase visibility for project work and school achievements. Videos can be easily embedded in Google Slides, school websites, email, or shared via WhatsApp.
CASE STUDY Gayaza High School has an active YouTube Channel with educative project videos, lesson recordings and school stories: https://www.youtube.com/@gayazahighschool/search?query=project

YouTube Pro Tips:
- Use clear and descriptive titles
- Add tags and keywords
- Create custom thumbnails
- Keep videos short
- Use playlists
- Monitor analytics
- Include calls-to-action (“Subscribe” or “Comment”)

Activity 6: Upload a practice video to YouTube (unlisted) and share it via Google Classroom or WhatsApp.
Creating Interactive Multimedia Content for Lessons
Use tools like H5P or Active Presenter to add clickable hotspots, embedded quizzes, and interactive timelines.

Activity 7: Create an interactive video quiz using H5P (free account at h5p.org).
Integrating Video Content into Your Teaching Practice
Strategies:
- Use videos to introduce topics, explain concepts, or summarise lessons.
- Examples: Flipped classrooms or video-based assignments.
- Combine videos with discussion or worksheets.

Activity 8: Plan a lesson incorporating a video on one topic.
Making Videos Accessible to Learners with Special Needs (SEN)
Accessibility practices:
- Add captions/subtitles
- Use large, clear fonts
- Clear audio with minimal background noise
- Audio descriptions
- Avoid flashing lights
- High-contrast visuals
- Adjustable playback speeds
- Screen-reader compatibility
Recommended resources:
- YouTube Studio captions
- Otter.ai
- WAVE Accessibility Test Tool
- WCAG guidelines
Conclusion
Creating visual learning materials and videos no longer requires expensive equipment. With a smartphone, free tools like CapCut and HandBrake, and platforms like YouTube and H5P, every teacher can produce professional, engaging, and inclusive content.
Start small, complete the activities, and share your videos. Join the Edutech Teachers Network and Sharebility Uganda for more support.
Leave a Reply